Share
Making your own bread is healthier than getting a loaf in-store. Plus, the smell of freshly baked bread wafting through your home is just as good a reason to get baking. Don’t be intimidated – we’ll hold your hand every step of the way. For the only sandwich loaf recipe you’ll ever need, click here. Let’s get started.
Step 1
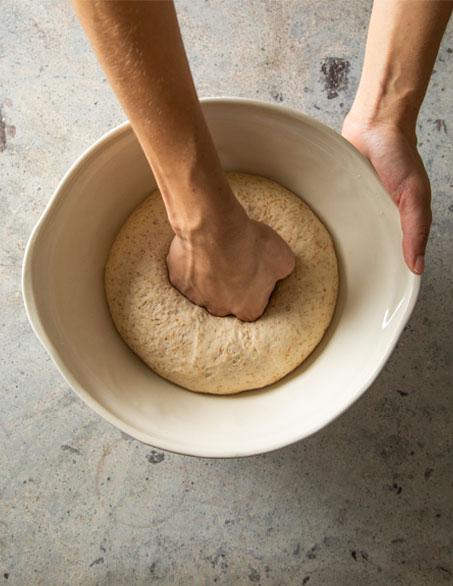
Lightly “knock down” the dough to release air and “feed” the yeast fresh oxygen.
Step 2
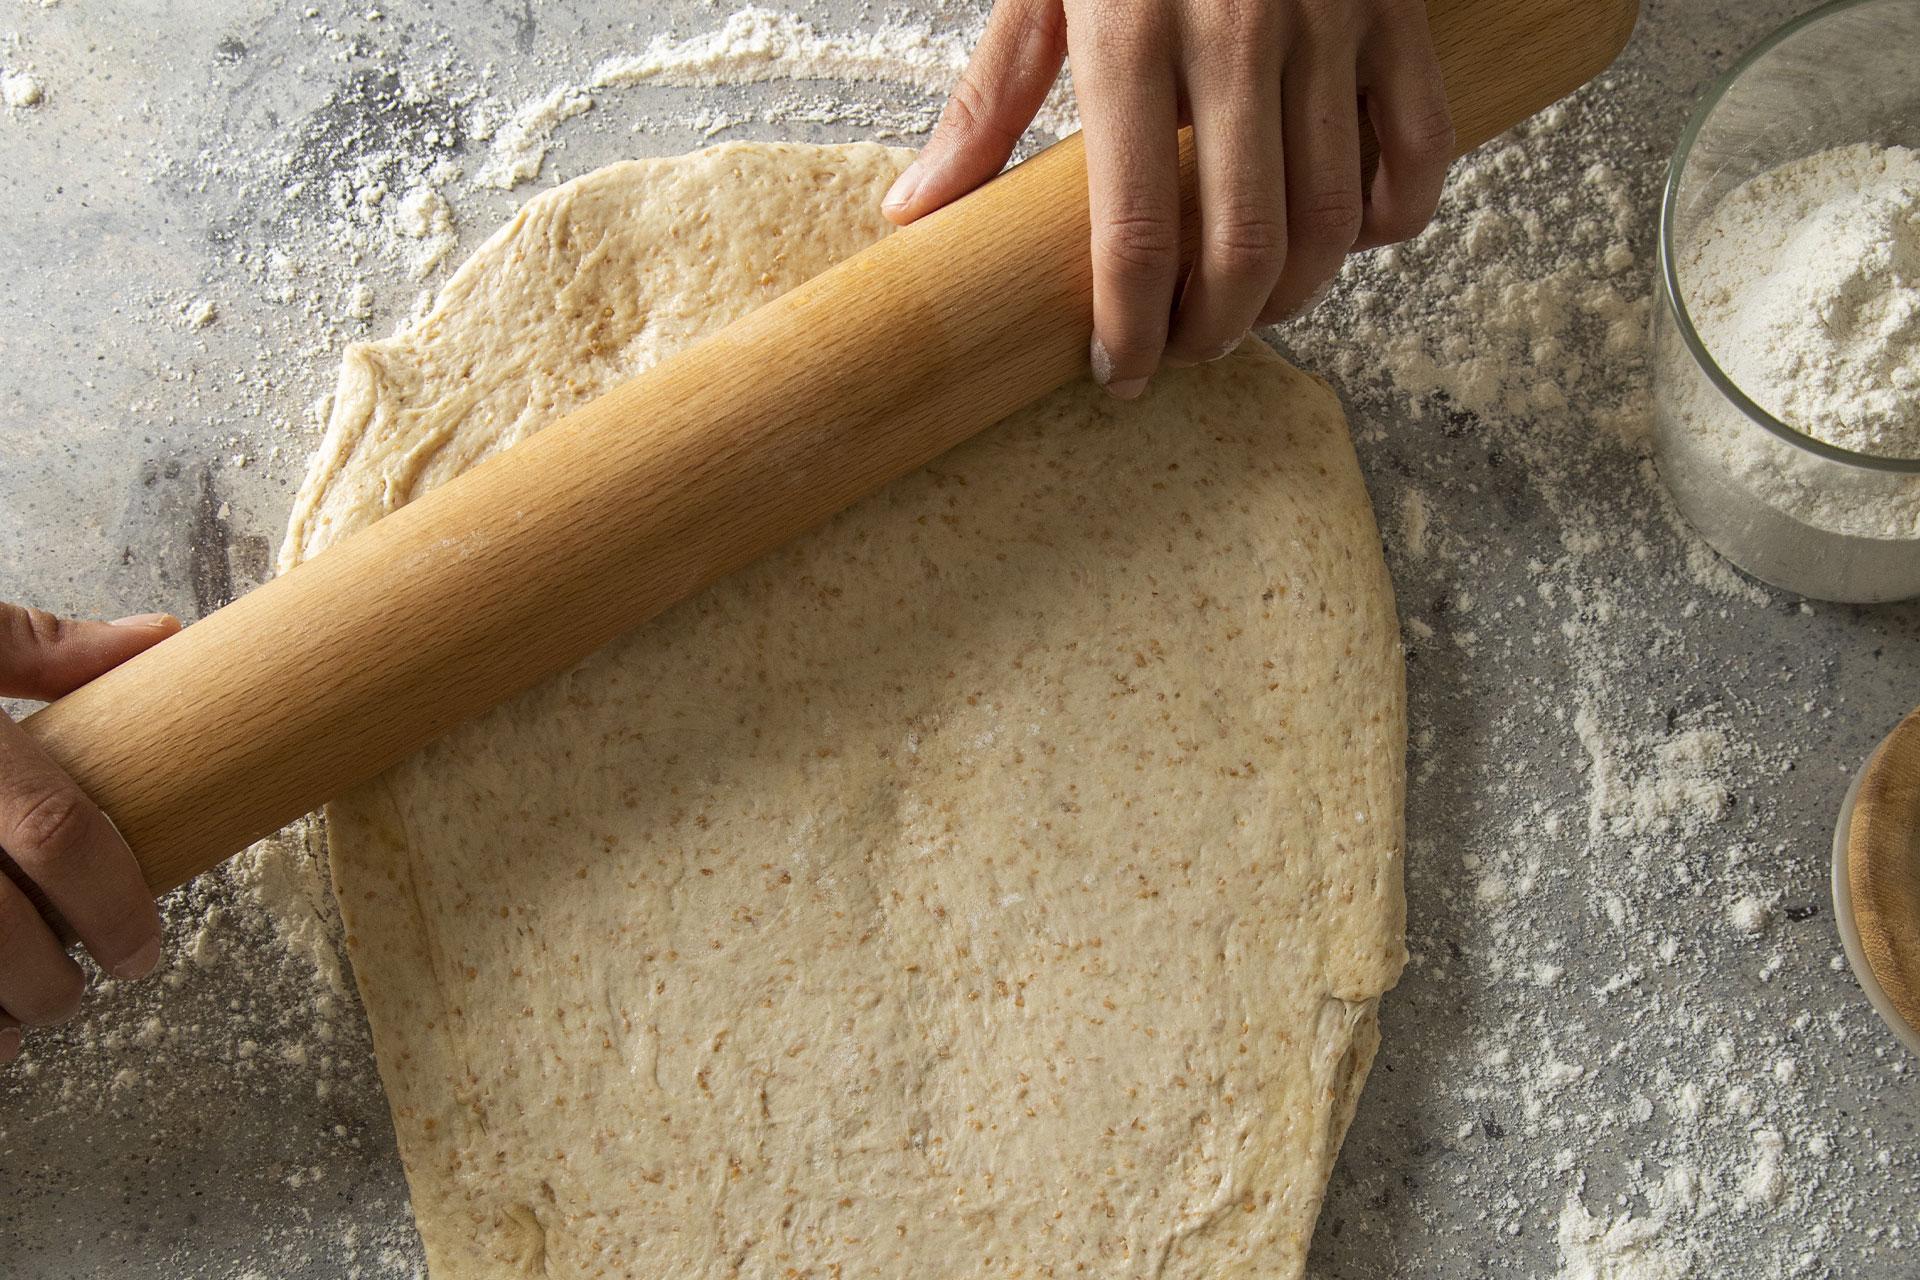
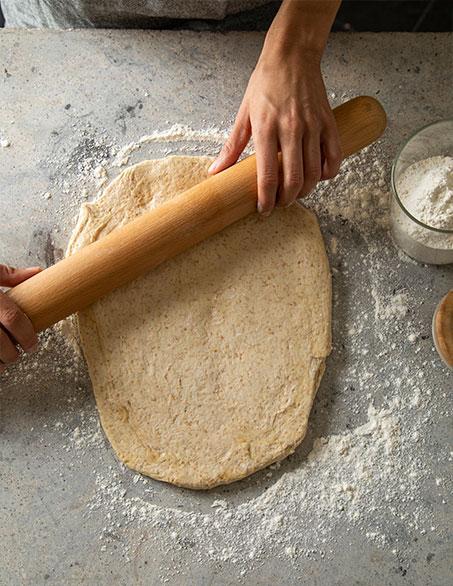
Roll dough out onto a lightly floured surface into a rectangle about 2cm thick.
Step 3
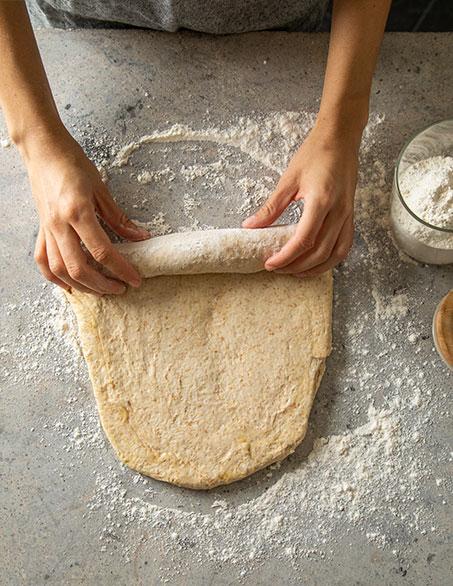
Roll dough up into a tight log.
Step 4
Pinch the seam with your fingertips and tuck in the corners.
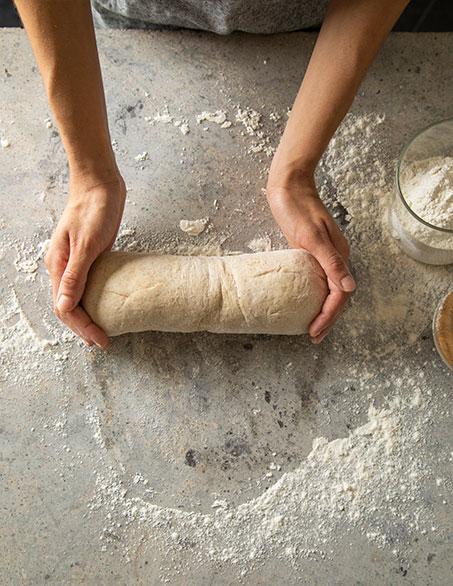
Step 5
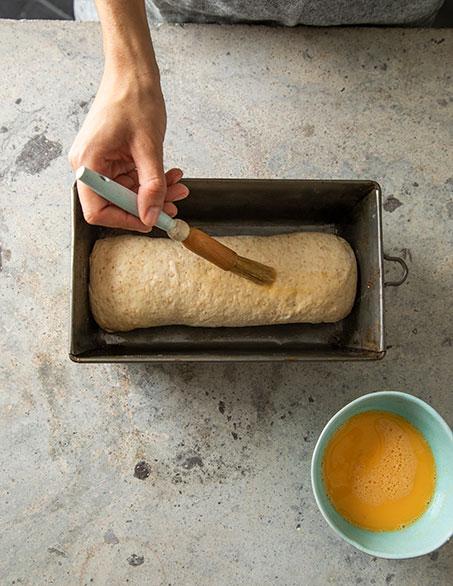
Place in prepared loaf tin, brush with egg and leave to “prove” for 30-60 minutes before baking.
MORE STEPS TO SUCCESS

Prepare: Make your dough well in advance. Ensure that all the ingredients are fully incorporated to avoid lumps after it has been baked.
Rise: Give your dough enough time. Two rises are usually adequate – this gives the bread a lovely texture and flavour.
Shape: The idea is to stretch and align the gluten molecules so that they form a “skin” over the dough. This gives the bread structure and ensures it bakes evenly.
Bake: For sandwich loaves, 180°–200°C will form a beautiful crust. High hydration doughs (such as sourdough) need a hotter oven, usually 220°C–240°C.
Now you’re equipped to make this staple at home. Get baking!

