Share
A sourdough starter is a lot healthier for your gut and gives the bread a nuttier flavour and aroma. Now that we have your attention, we’ll teach you how to make this natural raising agent that you can ferment and grow at home. For our classic sourdough bread recipe, click here.
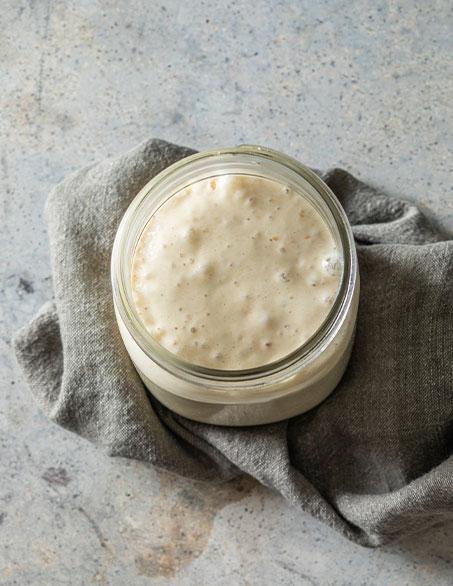
WHY NOT USE A PACKET OF YEAST
First things first, it’s important to understand that there are different raising agents for bread.
Fresh yeast is a mixture of yeast and water formed into a crumbly, solid block. It provides a richer, slightly sweeter flavour to your baked goods, with a better rising quality compared to the dried granules we all know.
Instant dry yeast is fresh yeast that has had all its moisture removed. This can be added straight to your dry ingredients and does not need to be “activated” before use.
Sourdough starter is a fermented dough that will help your bread rise too. This dough gathers natural, wild yeast all by itself, so to speak. It’s from this watery dough mixture that sourdough gets its distinct nutty taste. Only when a sourdough starter has been frozen, should it be supplemented with instant yeast. It’s important to remember that a sourdough starter isn’t instant, you’ll need to let it ferment and ripen – more on that below.
WHAT YOU’LL NEED
To make a starter, you likely have all the ingredients you need in your kitchen already. Simply gather the following:
- 1 cup (150g) wholewheat flour
- ½ cup (125ml) water
GET STARTED
- Whisk wholewheat flour and water until smooth. (If it’s too dry, add ¼ cup (60ml) water.)
- Transfer to a jar, close the lid and leave it in a warm place for 24-48 hours, until bubbles start to form on top.
- Weigh the mixture on a scale and discard half.
- Combine ingredients for feeding until smooth.
- Mix in the starter and return to the jar.
- Let it stand for another 24-48 hours, until bubbles form again.
- Feed the starter again with more of the flour mixture.
It’s important to note that it takes at least 7 days before your starter will be ready when making it from scratch the first time.
HOW TO STORE YOUR STARTER
Always keep your starter in the fridge, and simply take it out and bring it to room temperature before you feed it (see below) or start baking with it.
Did you know you can even freeze a starter?
In our personal experience, a fresh yeast starter works best, but if you’re going away and can’t give it the proper attention it needs – or it’s simply growing too fast for you to use everything, you can freeze sourdough starter in portions and only use what you need. A frozen starter will still perform well for up to two weeks after freezing. If you have a starter that has been frozen for more than two weeks, you can still use it in combination with dry yeast.
HOW TO FEED YOUR STARTER
Remember, you’ll need to feed your starter. This is sort of like water a plant, giving it food to keep on growing. For this you’ll need:
- 1 cup (150g) bread flour
- ½ cup (125ml) water
You know you can feed your starter when liquid forms on top of the starter mass.
To feed your starter, firstly bring it to room temperature. Then discard any liquid that is sitting on top.
“Feed it” with the flour and water that has been mixed together, mixing well so it’s evenly distributed.
Now, leave for 6-12 hours in a warm place, then place in the fridge.
Repeat this process as needed.
READY TO BAKE
When you’re ready to create your sourdough masterpiece, be sure to take out your starter and bring it to room temperature before using it to create your dough.
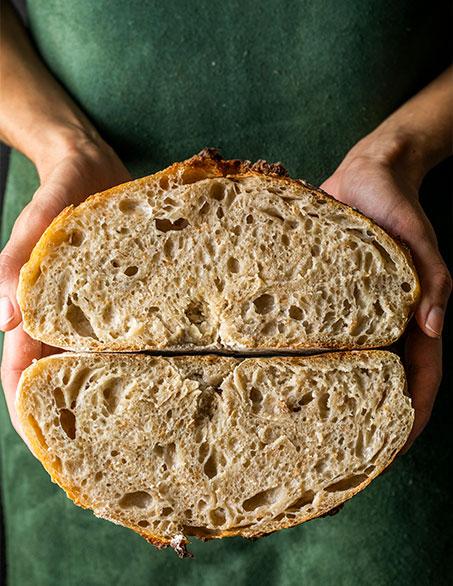
And that’s really all there is to it – you need some flour and water and a little bit of patience. Easy peasy!


