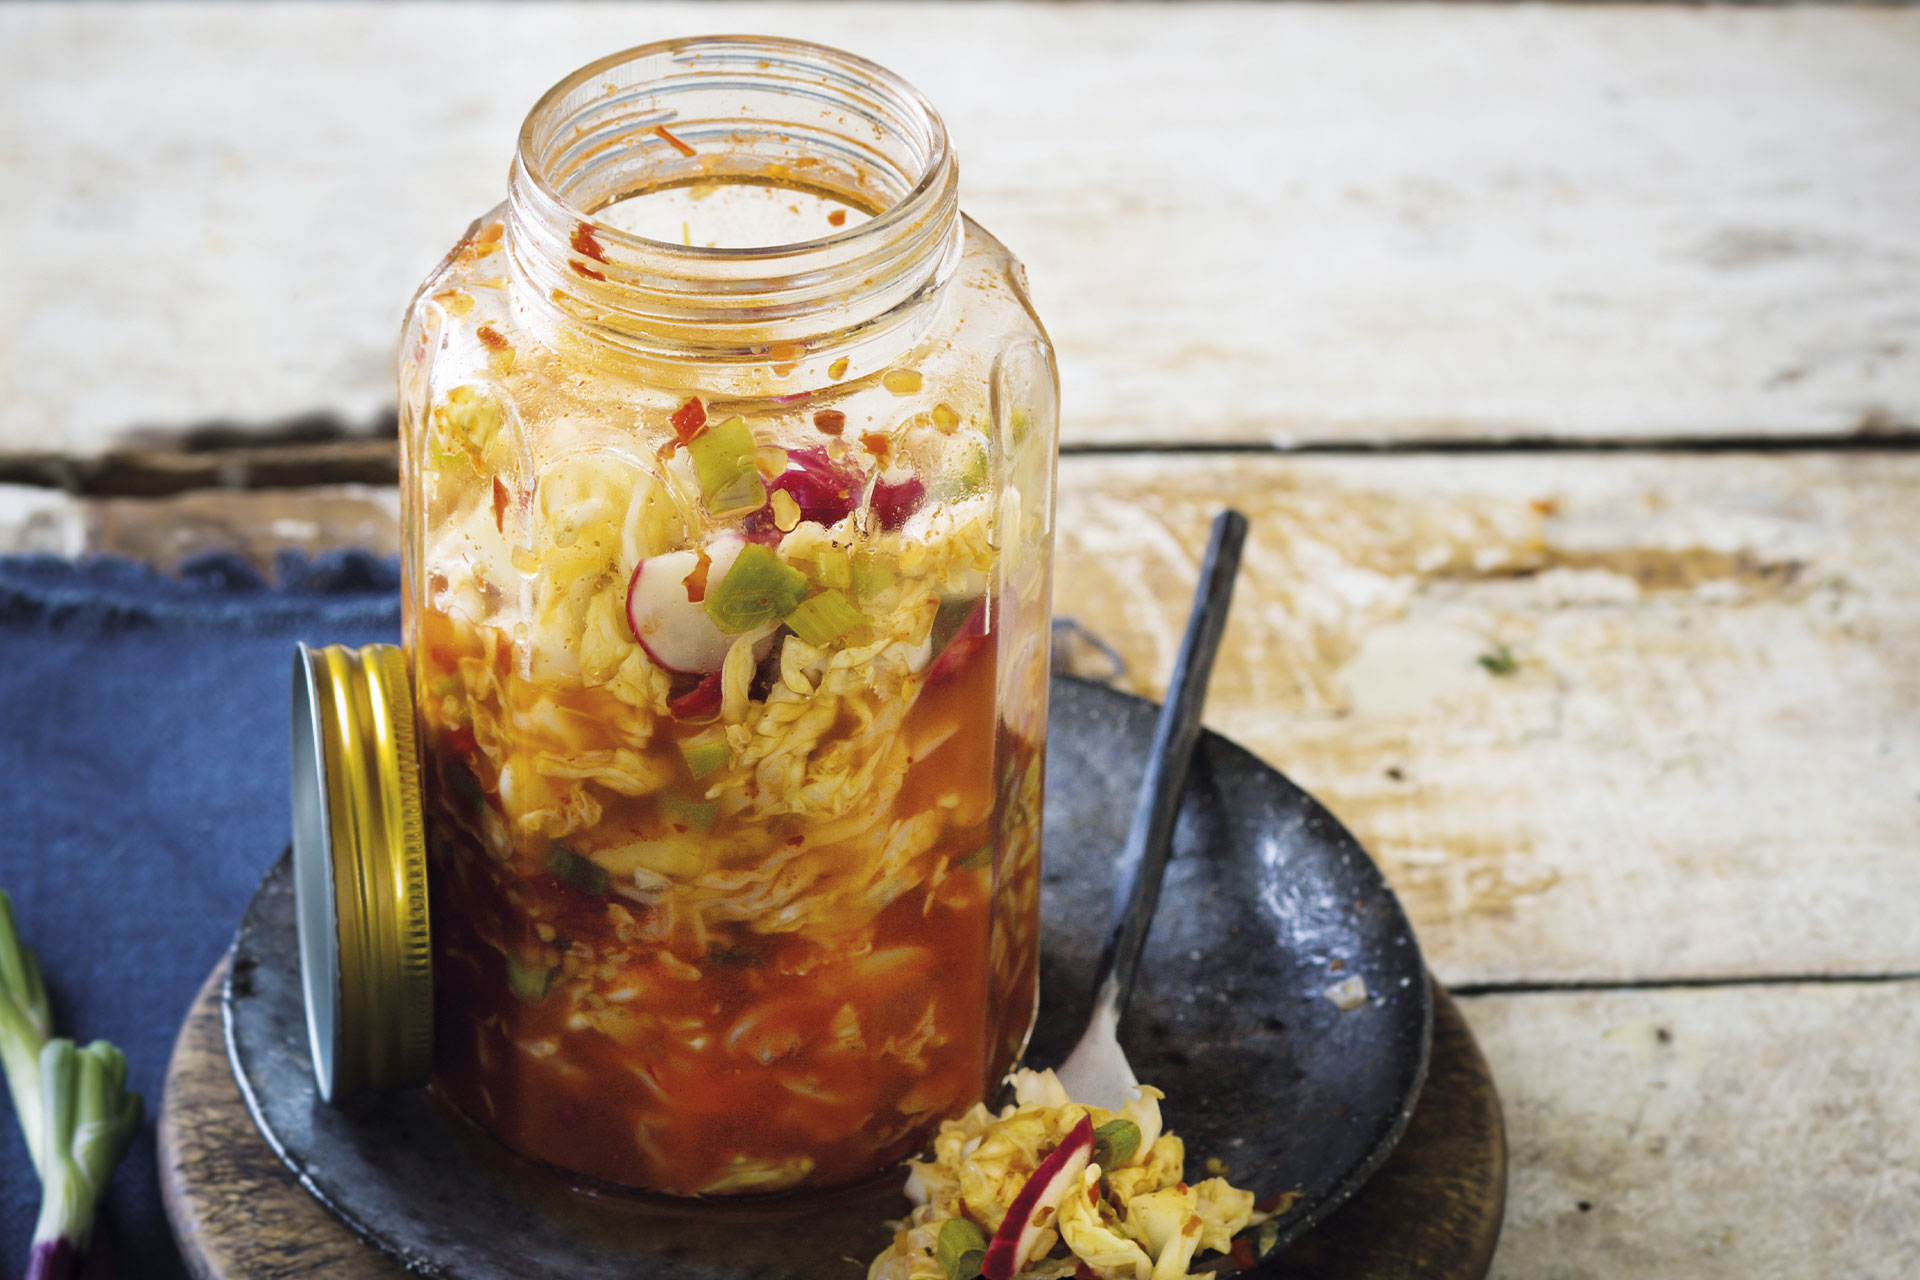

What is kimchi? It’s a spicy, fermented cabbage similar to sauerkraut but with Korean flavours like garlic, ginger and Gochugaru (Korean chilli powder). It’s packed with do-good bacteria that aids in boosting the immune system and energizing the body, plus it’s good for your gut.

WHAT DOES KIMCHI TASTE LIKE?
The fermentation process is what gives kimchi its unique taste and pungent flavour.
Kimchi tastes sour, tangy, salty, umami and packs either a little or a lot of heat depending on personal preference.
WHY EAT KIMCHI?
Besides all the health benefits that kimchi brings, it adds so much flavour and can elevate a dish from the standard cheese toastie to fried rice.

Click here for ways to use kimchi.
WHAT YOU’LL NEED
This simple kimchi recipe makes enough to fill a medium to large jar (about 500ml). Simply gather the following:
- 1 head Chinese cabbage, quartered and rinsed (you can use regular cabbage as well)
- Coarse salt
- ⅔ cup (160ml) miso paste
- ¼ cup (60ml) honey
- ¼ cup (60ml) Gochugaru (Korean chilli powder) or cayenne pepper
- 2 Tbsp (30ml) mirin
- 2 Tbsp (30ml) rice wine vinegar
- 2 Tbsp (30ml) fish sauce
- 2 carrots, grated
- 2 cloves garlic, minced
- 1 knob ginger, grated
- 2 spring onions, sliced
STEP 1: BRINE THE CABBAGE
This step is important as it softens the leaves, makes the fermentation process easier and helps the flavours absorb better too. If using regular cabbage, allow it to stand for 30-45 minutes longer before rinsing.
- Cut cabbage into quarters and generously sprinkle with salt making sure you get into each layer.
- Stand for 1-2 hours. Rinse under running water and drain excess liquid.
STEP 2: MAKE THE KIMCHI PASTE
You can use store-bought Gochujang (Korean chilli paste) or make your own. Bulk it up and store half in the jar to add to soups and stir-fries.
- Combine miso paste, honey, Gochugaru, mirin, vinegar and fish sauce until smooth.
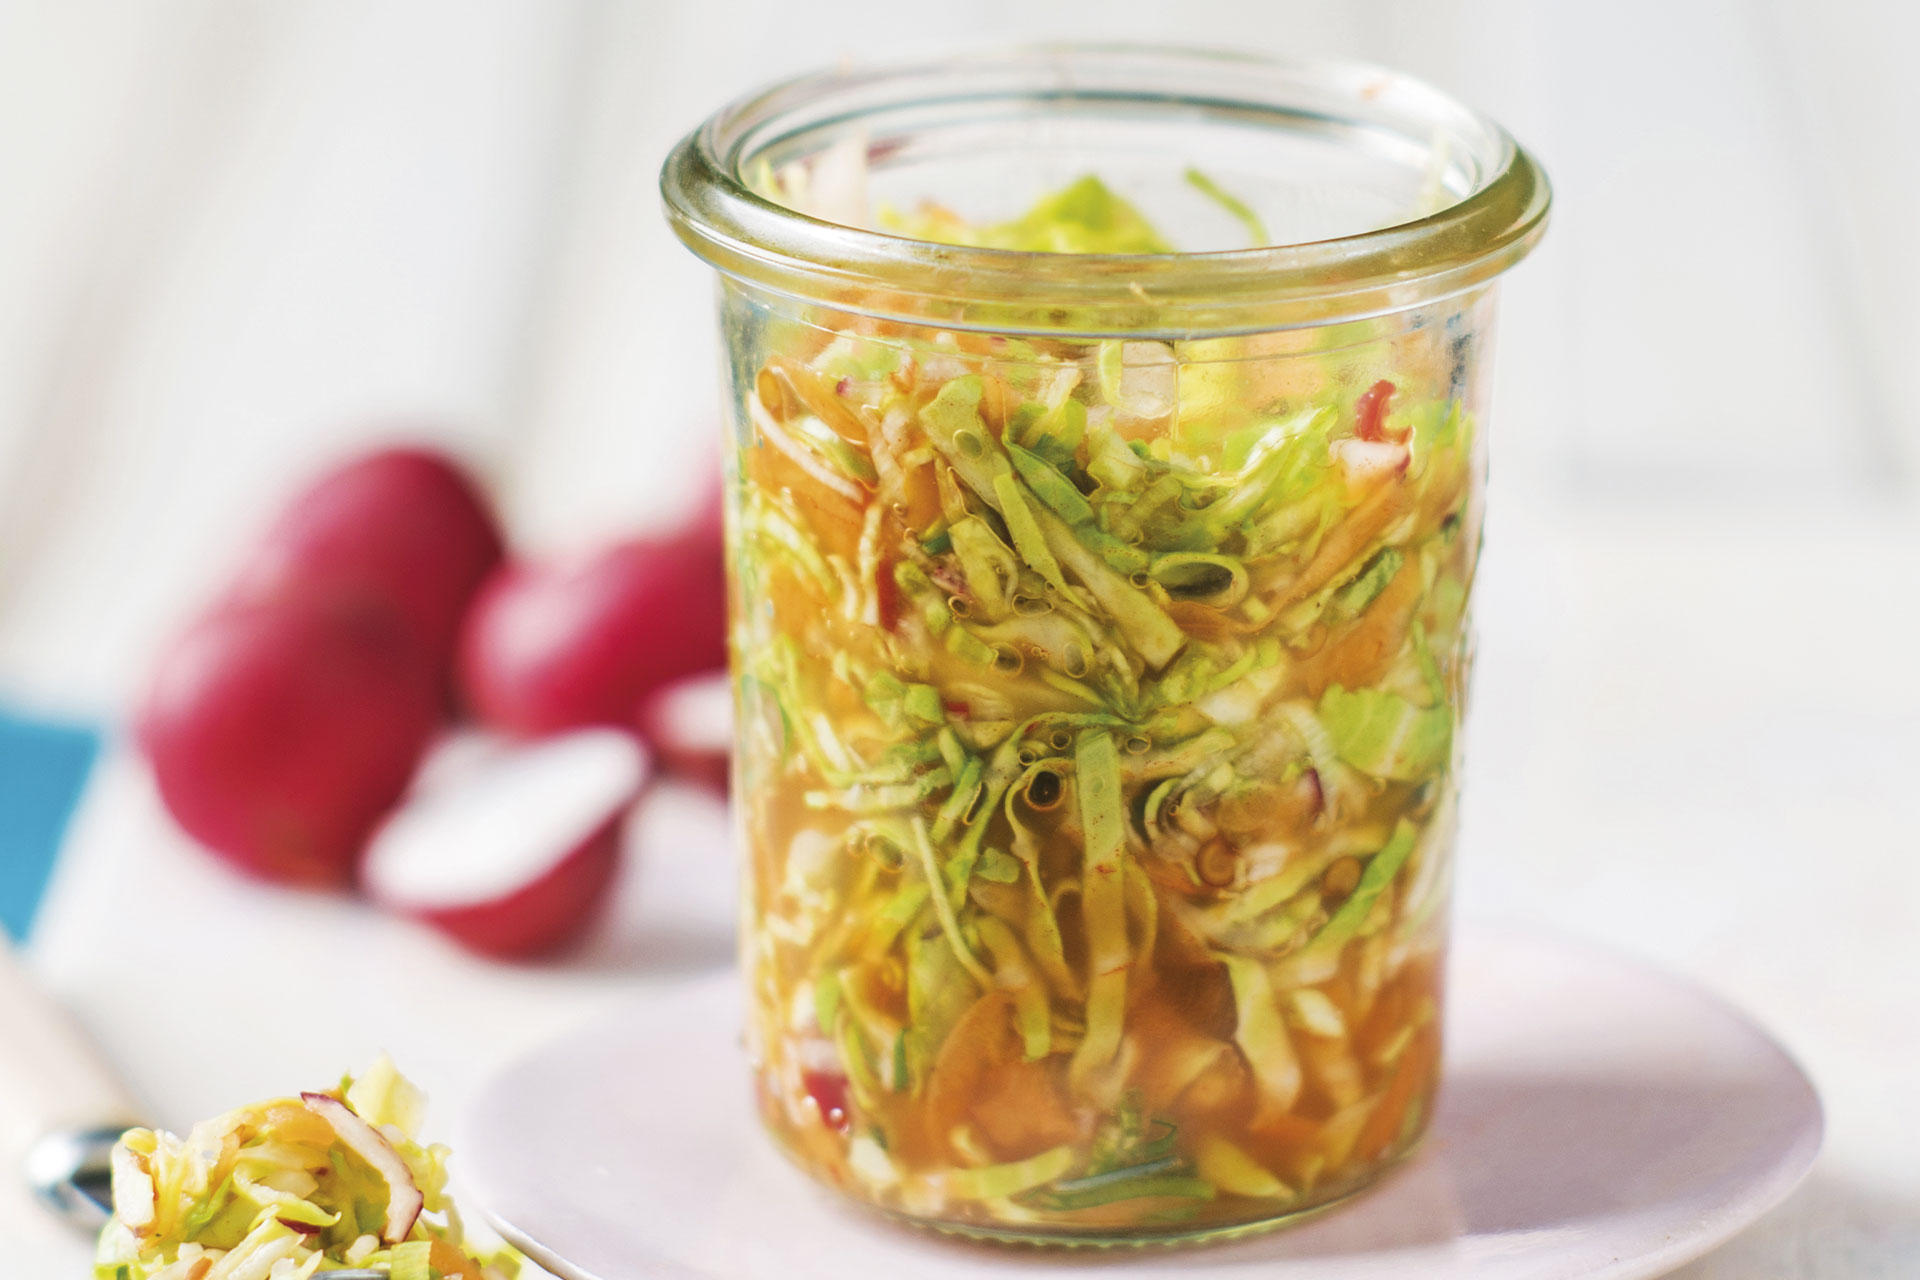
STEP 3: ADD MORE FLAVOUR, RUB IT IN AND START PACKING YOUR KIMCHI
Like so many things, there are quite a few variations of kimchi. Some people add sugar and sesame seeds even shrimp paste, radishes and pineapple and some don’t. But we have you covered with the basics.
- Add carrots, garlic, ginger and spring onion to the chilli paste and mix well.
- Rub paste generously between each layer of cabbage.
- Roll up and stack into a 500ml jar.
- Pour in the remaining paste to fill the gaps.
- Store at room temperature for 3-4 days before returning to the fridge for further fermentation.
- Ready to eat after 5 days to 1 week.
HOW TO KNOW IF THE KIMCHI IS FERMENTING
- After the three-day mark, tap the jar to see if any bubbles rise to the top – this is an indication that the fermentation process is well on the way.
- Taste and smell for tanginess.
- Looking for more tang? Allow to ferment outside the fridge for an additional two to three days before returning to the fridge.
- Once it’s stored in the fridge, do another taste test. The kimchi will continue to ferment in the fridge at a much slower rate, the level of spiciness will mellow down.
STORING YOUR KIMCHI
Keep fermented kimchi in a glass jar with the lid on in the fridge. Press it down after each use making sure that it’s submerged below the liquid. It will keep for months on end and will intensify in flavour overtime.
And there you have it – homemade kimchi in just a few simple steps. It can be stored in the fridge for months too. Easy, flavourful and adaptable!