To help shed some light on how to grill it up like a god, we share a few tips on simplifying the science behind essential techniques, from building a fire to preparing the perfect steak.
FIRE IT UP!
Knowing how to build the perfect fire is the most important part of a successful braai.
THE BUILD
One of the biggest mistakes you can make when building a fire is throwing on more wood or charcoal than required. The typical fire takes about 45 minutes to create pristine coals before you’re on your way to braaiing up a storm. When starting off, remember to:
- Gather your materials: Either wood, charcoal or briquettes and some firelighters.
- Build: If using wood, pack two pieces parallel to each other. Place firelighters in the gap between (the more you use, the quicker the wood will burn). Pack another two pieces on top, making sure it’s in the opposite direction (like a Jenga tower). Continue the packing process until you’ve used about 12-14 pieces of wood.
- Start the fire: Light the firelighters.
- Maintain that flame: It’s best to leave the fire until the tower collapses. At this point you can move any stray pieces of wood that have not burnt through to the top of the burning pile.
WOOD OR CHARCOAL?
What you use depends on what you want to do.
- Wood: When wood burns, it releases aromas that are imparted on the food while it’s cooking. For this type of braai, you’ll need to be patient, as wood burns slower than charcoal and is a bit more difficult to control as a heat source.
- Charcoal: Although arguably not as flavoursome as wood, charcoal – which burns at a more controlled, even temperature – makes coals much quicker and its heat is easier to control.
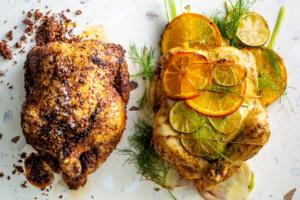
KETTLE BRAAI VS. OPEN FIRE
Neither method is superior – it simply comes down to what you’re cooking.
- Kettle braai: Kettle braais, such as a Weber, can be enclosed with a lid. This helps to circulate heat (almost like creating an oven) and avoids flame flare-ups. This is ideal for thicker pieces of meat that require longer cooking times (more than 20 minutes) – think whole chicken or lamb roast. Less turning is required in this instance.
- Open fire: This option gives you a single heat source at the bottom, cooking from one side only, but you can control the heat more precisely by moving the grid higher or lower.
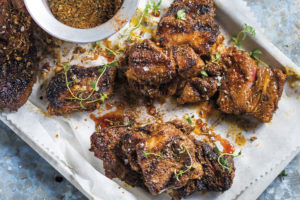
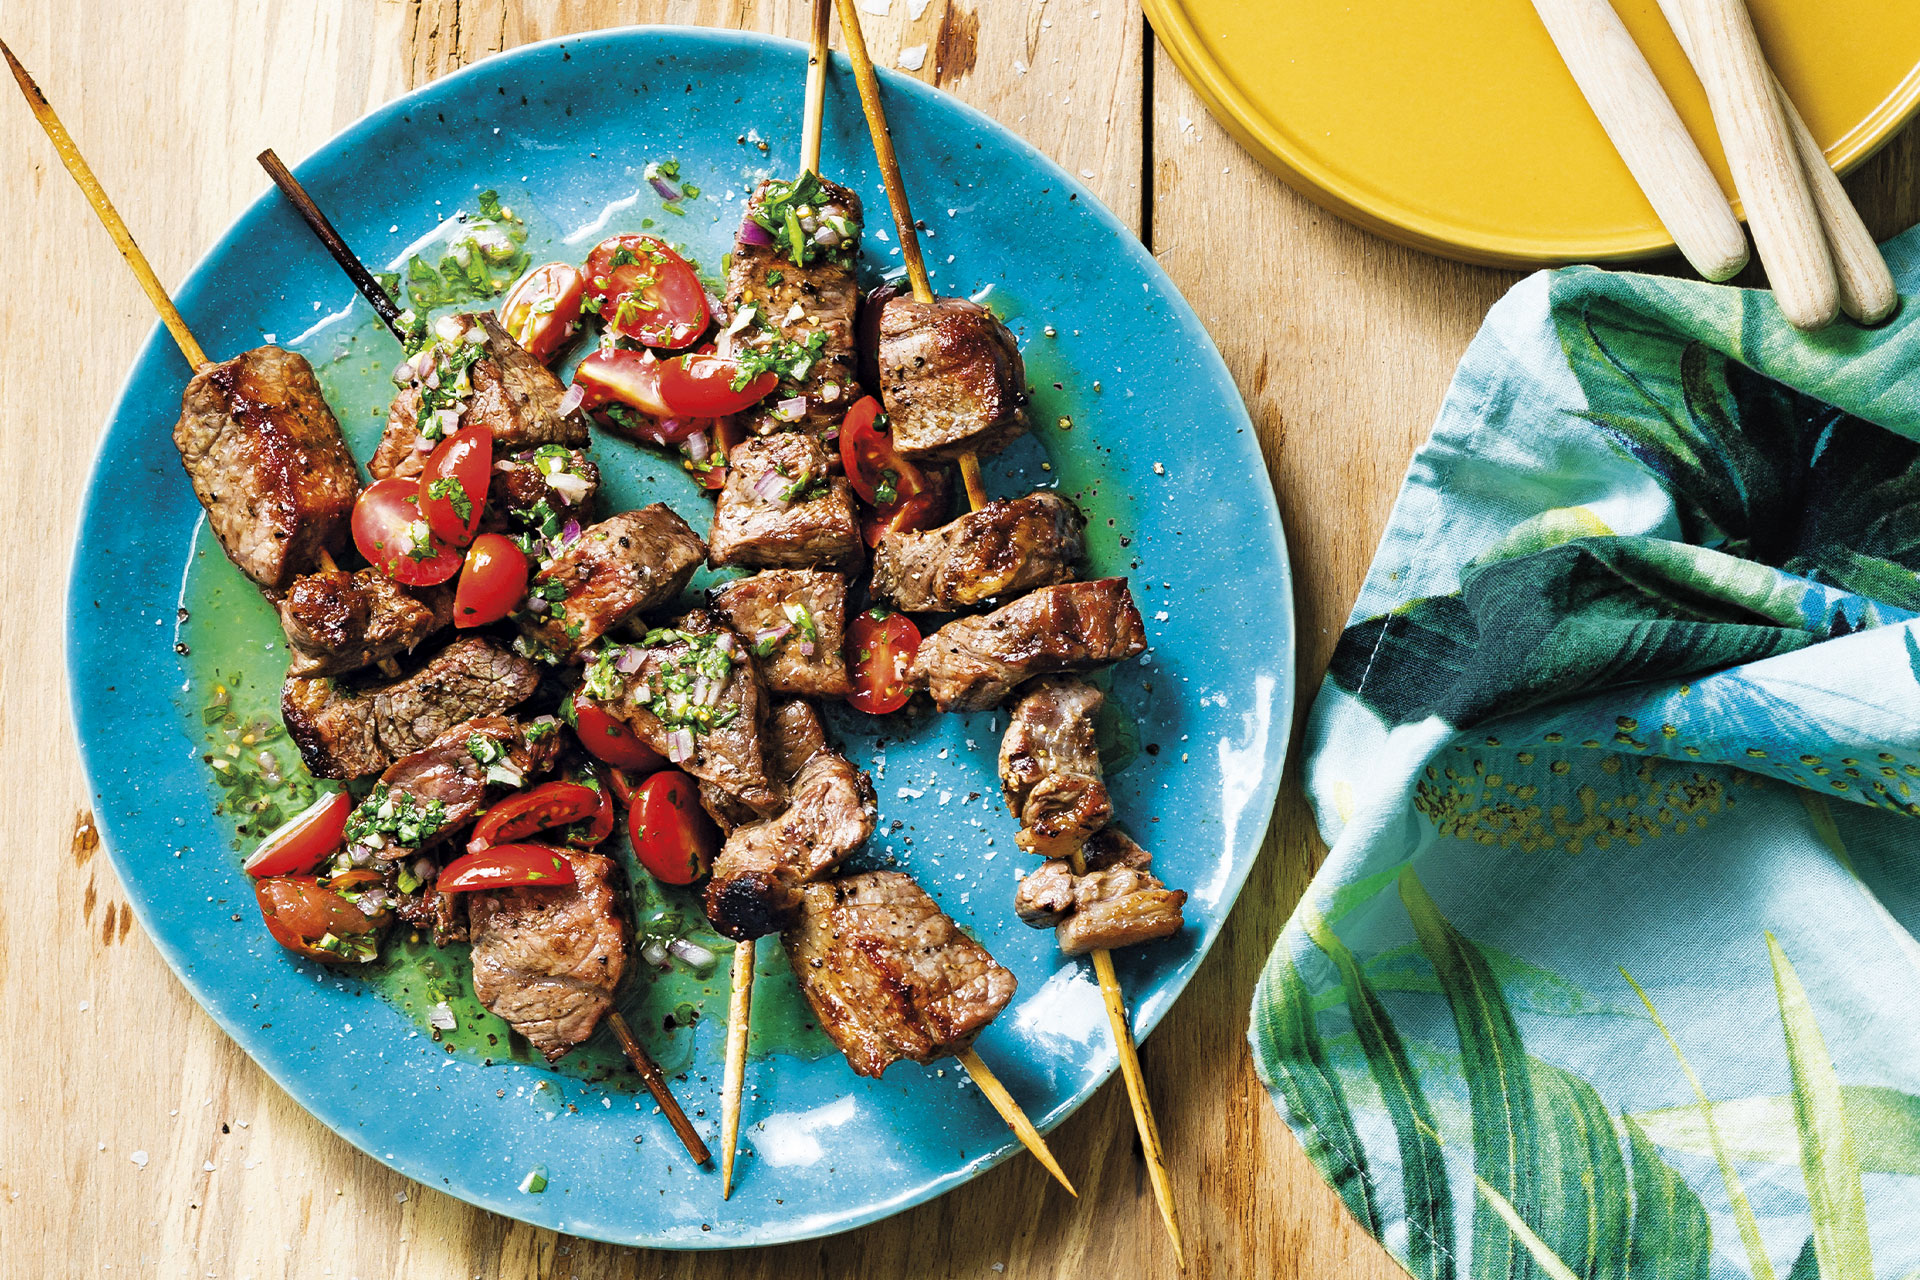
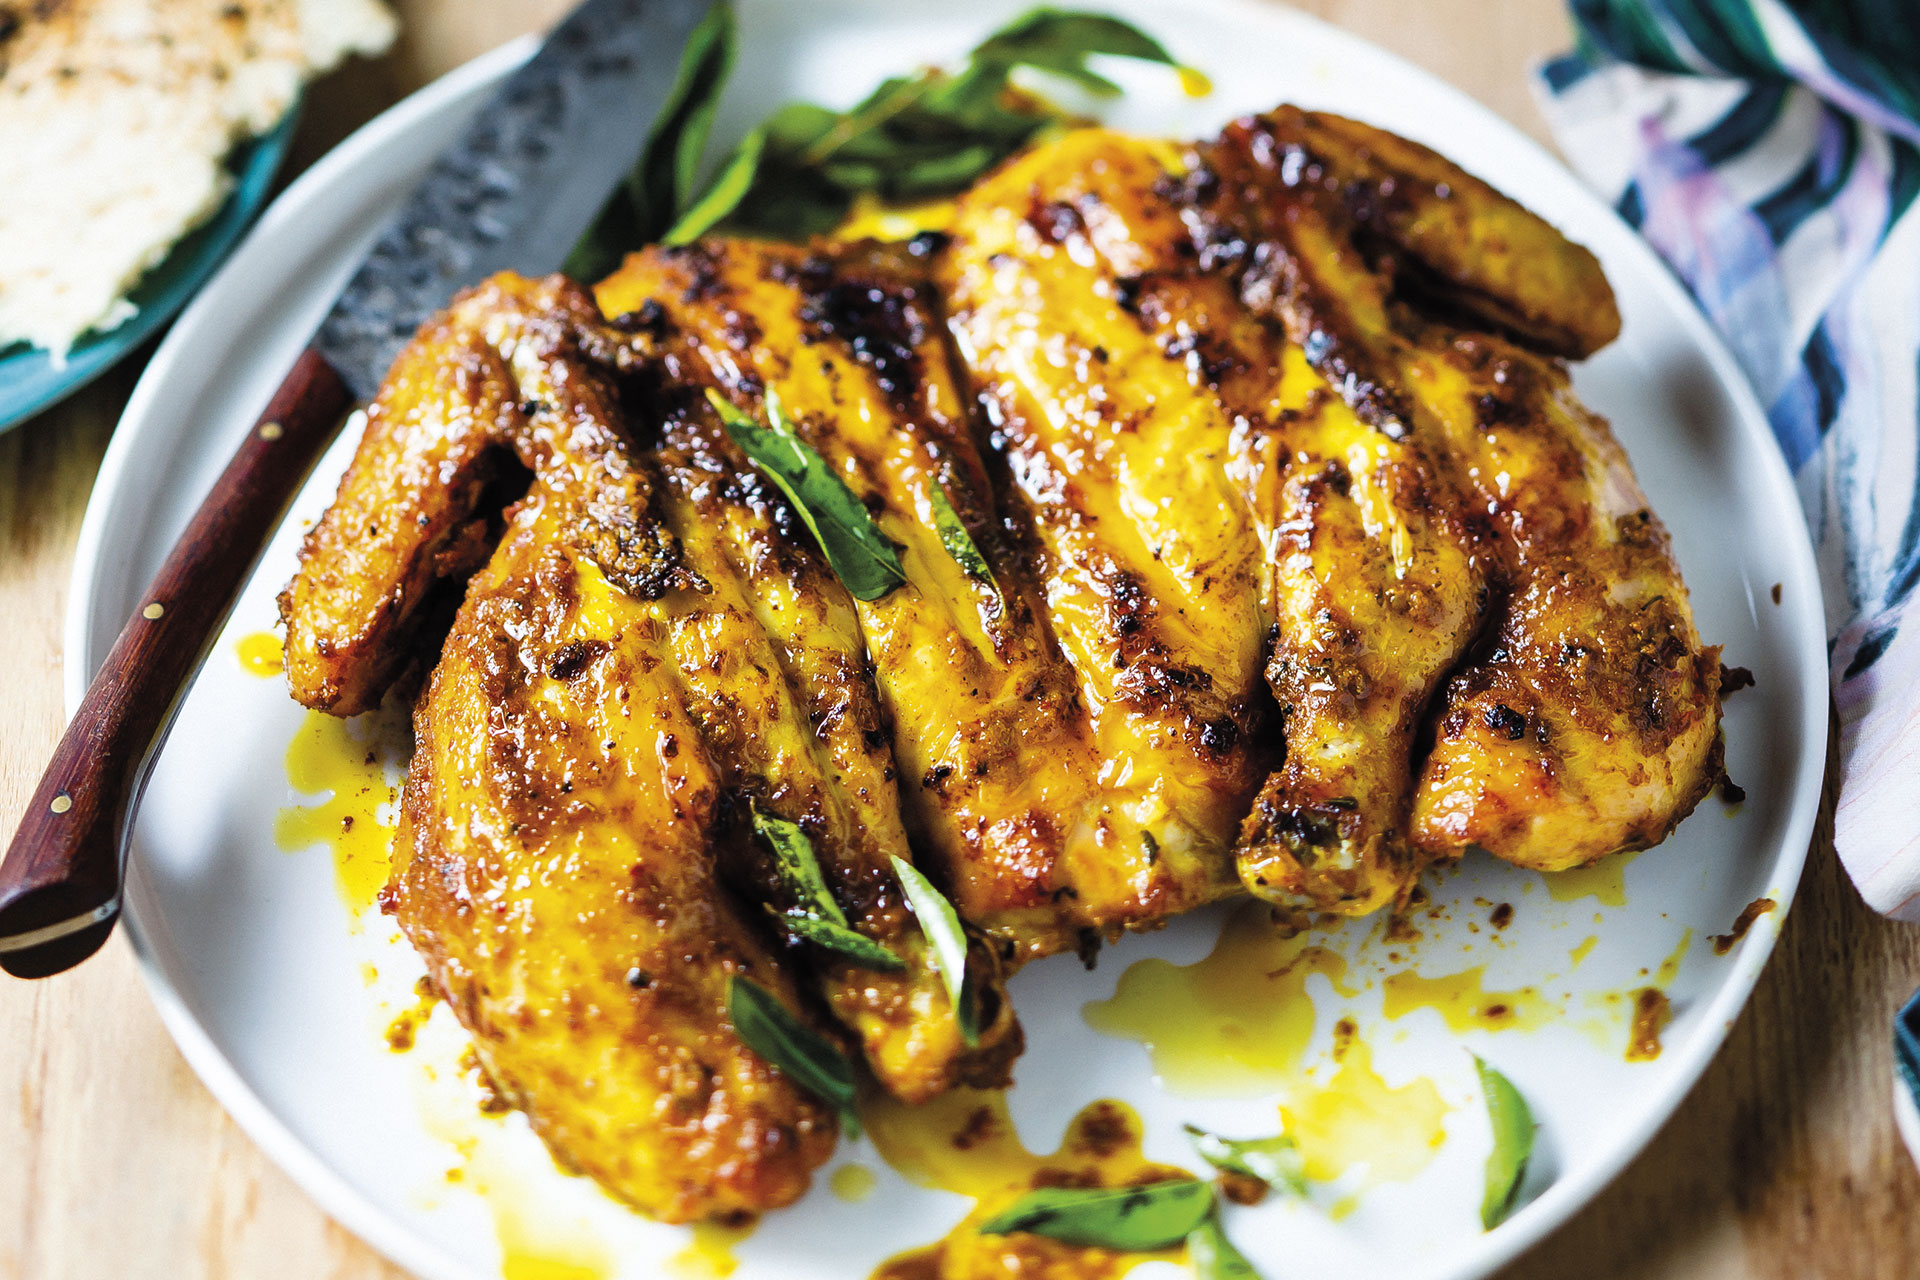
ALL ABOUT THAT PROTEIN
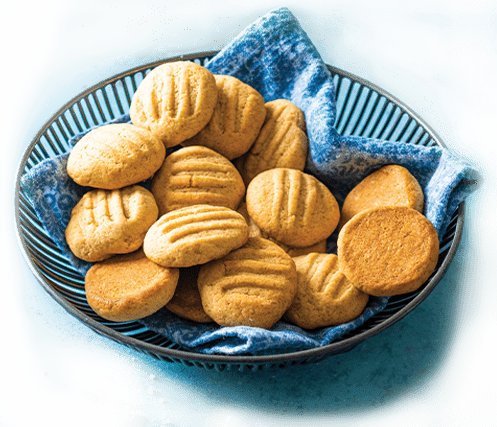
Selecting good meat is vital. Quality over quantity and how you prepare your choice of protein is key here. A few things to keep in mind:
- Temperature: Don’t take meat, fish or poultry straight out of the fridge and slap it on the braai. This will cause it to cook unevenly. Remove meat from the fridge at least 30-90 minutes before cooking, depending on the outside temperature. This will ensure even cooking, meaning the inside won’t be raw with the outside overcooked.
- Be patient: Resist the urge to whip out the braai tongs every two minutes. Rather leave the meat to do its thing on the braai. Turning too often will disturb the process of browning.
- Residuals: Even after it’s been removed from the braai, the meat will continue to cook in the residual heat for a few minutes, from the outside in. For this reason, cease cooking just before you feel your meat is perfectly done – this will allow it to keep on cooking to perfection before serving, even once off the heat.
- Don’t forget to rest: Resting your meat before slicing it is absolutely necessary, and here’s why. The protein in the meat will firm up. This squeezes the moisture out of the meat fibres towards the surface. Resting the meat gives the moisture a chance to sink back into the meat fibres, ensuring none of the precious juices are lost when slicing. Remember, a medium-rare steak should never have juices running away on the plate when sliced – that means it’s not rested, not that it’s underdone.
MARINATING
All marinades add flavour to meat and some even aid in tenderising, with the right mix of acidity, oil and flavouring. When a marinade contains enzymes (from soy, citrus, papaya, pineapple or buttermilk), these enzymes break down the outside layer of the meat, allowing more moisture and flavour to be absorbed. Marinate your meat for 30 minutes to 1 hour, or even overnight, for optimum flavour.
SALTING
Some say seasoning meat beforehand is essential, while others swear by salting while
cooking. Salt draws out moisture, and moisture is flavour when it comes to food. But salt also breaks down protein, which helps meat retain its moisture inside during cooking. We like to season our meat well before braaiing – anywhere from 2-3 hours in advance, if time allows. Remember to plan ahead in the name of deliciousness!
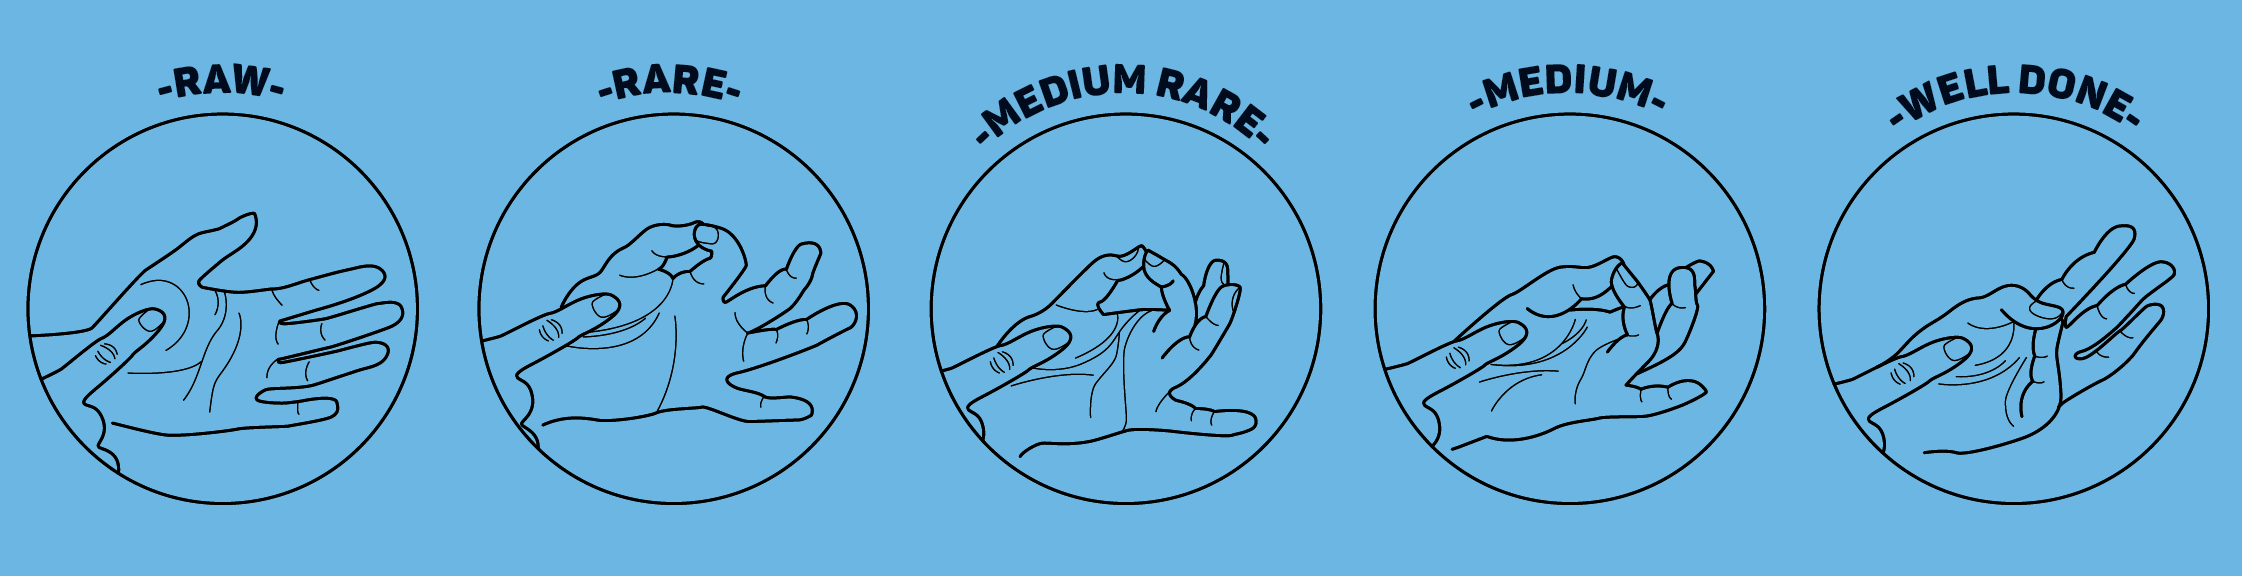
WHEN IS YOUR MEAT COOKED?
When meat is heated, the muscle fibres contract and change shape to become firmer. The longer meat is exposed to heat, the firmer it gets. This means you can touch meat to know how well it’s cooked – no need for a thermometer! When your thumb is pressed to your index finger, the fleshy part at the base of your thumb (where it meets the palm) feels the same to the touch as a rare steak. When it’s pressed to your middle finger, it’s the same as medium rare, and to your pinkie, the same as well done. Easy peasy!
With these key notes, you’ll be mastering the art of coal play in no time!